The increasing cost of living, including rent, makes co-shared student housing and cozy units (ex. small studio apartments) a more affordable choice for graduate students.
Since some students who live in co-sharing units often find themselves living there for the duration of their studies (one to four years, sometimes more), it is imperative that some thought be put into the design and use of their personal space.
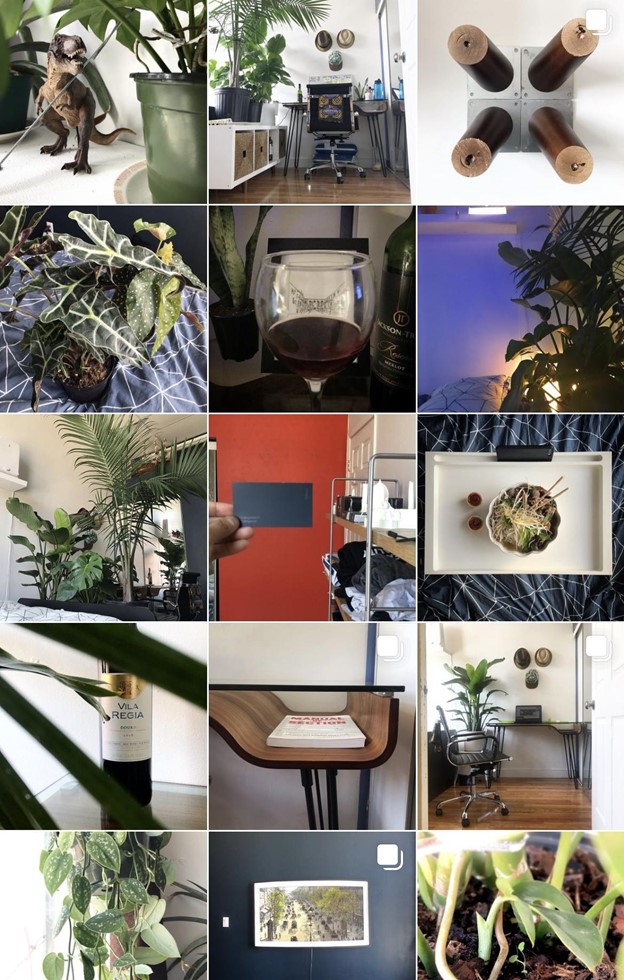
We decided to tackle this challenge a bit differently: by showing you how to maximize the efficiency of your small space. For reference, all of the photos included below are from one of my clients.
1. Measure your space
Start by measuring the length and width of your space, which you can then sketch on paper. Dimensions measured can be in centimetres or in feet and inches, whichever you feel most comfortable with. Pro Tip: You can even download a digital measuring tape app that corresponds with your camera and it will take measurements for you.
[Use the arrows to scroll through the photos.]

Photo 1A: Empty apartment.

Photo 1B: Empty apartment, kitchen view. The apartment lacks a den space for working from home, which became a design challenge.

Photo 1C: Measuring horizontal dimensions.

Photo 1D: A rough sketch of the floor plan on a cardboard box.
2. Optimize verticality
Sometimes we get so caught up with spaces horizontally that we forget that vertical space is as important. Measure the dimension of the height(s) of the room(s), since vertical spaces can be useful for hanging wall-mounted shelves, hooks for hats, book storage, art, or even hanging plants, all of which help optimize space.

Photo 2A: A tall vertical plant such as a Bird of Paradise adds vertical height to a space. Due to its verticality, it can be used to divide up the living / dining room space while also retaining spatial openness.

Photo 2B: Using green tape to mark out the placement of vertical elements. Designing a workstation area for a work-from-home situation.

Photo 2C: Final makeshift workstation area. Optimize vertical heights to create a (new) workspace and shelf – spaces that previously did not exist!

Photo 2D: Placing plants on top of the kitchen island helps bring the eye up to the ceiling, thus making the space feel much taller and bigger than it actually is.

Photo 2E: A vertical trellis above the TV to further bring visual interest and height to the living room space.

Photo 2F: Another element that adds to the space’s verticality – a vining pothos plant placed on top of the fridge.

Photo 2G: Hanging picture frames and a larger vertical mirror to bring verticality and visual rhythm through the hallway space.

Photo 2H: Floating hooks with clothes hanging adds vertical interest to the entry space. Also, a 10’ curtain that separates the hallway from the bedroom further emphasizes the height of the space.
3. Develop a plan and budget
Let’s start with the plan. Do you intend on staying at the same place for a while? If so, perhaps spending a bit more on a comfortable mattress may be worth it, which would ultimately increase your budget. Second, money matters. Find a happy balance where you won’t be overstretching your finances, while also finding a budget that makes sense for your length of stay, especially if you don’t intend on keeping all of the items.

Photo 3A: The kitchen island was an essential item, but it is also not an item that may be needed in future apartments, depending on their kitchen layout. As a result, a medium cost kitchen island sufficed for this apartment.

Photo 3B: A relatively expensive purchase can be the living room sofa. The decision to buy a more expensive, modular sofa (as shown here) allows one the flexibility to add to it for a future, larger space.

Photo 3C: How often do you want to buy a TV? What will you use it for? How big should it be? These are just some parametres that dictated the decision to spend a bit more for this once-in-a-decade purchase (hopefully).
4. Visualize your space
Create a mood board using pictures, images and materials of the feeling you want to create for your space. This mood board will serve as an artistic compass for your design direction. The strength of having it all laid out in front of you is so that you can communicate visually with others your ideas while having everyone on the same page (if you have roommates).
5. It’s online window shopping time
Now that you have steps 1 to 4, it’s time to do some online window shopping! Using your personal sense of intuition and taste, find items that fit within your budget and are of interest to you. Next, look at your list of items together and visualize how they would come together compositionally. Eliminate, in this order of priority, items that:
- don’t physically fit within your space;
- don’t belong to your overall mood/design direction; and
- don’t fit within your budget and plan.
With your remaining items, you can make one final pass of what items would look good together compositionally in your space. This final list will be the items that you should buy!

Photo 5A: View of the final kitchen / dining / workstation / living room space.

Photo 5B: View of the final living room space.

Photo 5C: View from the hallway at night.
Tell us your ideas and how you plan to reimagine your living spaces for the coming semesters in the comment section below.
